A Backup Is Only a Promise Until You Restore It
A green check mark means a backup job finished. It does not prove that the right files were copied, that the copy can be opened, or that you still have the credentials needed to recover it. Those details tend to become visible at the worst possible time: after a failed drive, an accidental deletion, or a compromised computer.
A restore drill turns that uncertainty into evidence. You recover a small but representative set of data into a safe location, confirm that it works, record what was confusing, and fix the process while the original files are still available.

This is not a disaster simulation that requires destroying data or taking your network offline. It is a controlled test designed to answer one question: if the original device disappeared today, could you recover what matters without improvising?
Decide What You Are Protecting
Start with a short list of data that would be difficult, expensive, or impossible to replace. Common examples include family photos, personal documents, financial records, creative work, source code, password vault exports, and device configuration files.
Match each data set to its source device and backup destination. If you already maintain a home network asset inventory, use it to identify laptops, storage devices, and servers that create or hold important data. Otherwise, make a simple table for the drill:
Data | Source | Backup location | Last backup | Recovery method
Do not assume that everything under a user profile is included. Check the actual backup configuration. Downloads, external volumes, virtual machines, application libraries, and hidden configuration directories are frequently handled differently from ordinary documents.
Define success before the test begins. A useful target is specific: recover selected files from each important category, open them with the expected application, and complete the process within a time you could tolerate during a real incident.
Prepare a Safe Restore Workspace
Never test by restoring over the original files. Create a separate destination on a spare drive, a temporary folder outside the protected directory, or a clean secondary computer. Give the destination an obvious name such as restore-test-2026-07-30 so it cannot be mistaken for live data later.
Keep the normal backup untouched. If your backup software offers a preview or dry-run mode, use it to understand the selection, but do not count a preview as a restore. The test only succeeds when usable files exist outside the backup system.
Before connecting an offline drive, make sure the computer is behaving normally and its security updates are current. A disconnected copy is valuable because it is separated from accidents and malware on the active system. Connecting it to a computer you already suspect would defeat that separation.

Record the start time and the path you use. You are testing the instructions as much as the storage. If you have to search old emails, guess which account owns the backup, or find a proprietary cable, write that down immediately.
Choose Files That Reveal Real Problems
Restoring one recent text file proves very little. Choose a small set that exercises different parts of the backup:
- A recently edited document
- An older file that has not changed for months
- A folder containing several nested subfolders
- A large photo, video, archive, or virtual machine file
- A file with a long name or unusual characters
- An encrypted document or application-specific library
- A previous version of a file that was edited or deleted
Include at least one item you can compare with the original. File size is a basic check. A cryptographic hash is stronger when the backup and original should be byte-for-byte identical. For photos, documents, and media, also open the restored copy and inspect it. A file can exist at the expected path and still be unusable.
Check folder structure, filenames, modification dates, and permissions when those details matter. For a source code project, confirm that hidden files and repository metadata were recovered. For a photo library, verify that both originals and catalog information are present.
Run the Restore Like the Original Device Is Gone
Use the same interface and account you would use during a real recovery. Avoid shortcuts that depend on the original copy still being available. Restore the selected data into the safe workspace, then disconnect from the backup service or device before validating the result. This prevents an application from silently reading the source instead of the recovered copy.
Work through these checks:
- Count the restored files and compare the count with your selection.
- Open every representative file with its normal application.
- Confirm that large files play, extract, mount, or load fully.
- Compare hashes for files that should be identical.
- Check whether older versions and deleted items are recoverable.
- Record the finish time and every manual step.
Authentication deserves its own test. Confirm that you can sign in without relying on a session stored only on the device being protected. Make sure recovery codes and encryption keys are available through a separate, secure route. The access problems described in a password manager migration become much more serious when the password vault itself is part of the recovery chain.
Do not disable multi-factor authentication to make the drill easier. The goal is to prove that the real security controls and the recovery process can coexist.
Test One Failure Assumption at a Time
Once the basic restore works, repeat a small part of it with one normal convenience removed. Pretend the primary laptop is unavailable by using a spare computer. Try recovering a file without access to the local network copy. Confirm that an encrypted backup can be unlocked using the documented recovery material.
Change only one condition per test. If you disconnect the internet, remove the primary computer, and rotate credentials at the same time, a failure will be harder to diagnose. Controlled tests produce useful answers. Chaos produces anecdotes.
Home labs deserve particular attention because backup jobs often depend on several services that live in the same rack. A storage server, identity service, monitoring system, and backup controller can look independent while sharing power, networking, or administration. If your setup resembles a home lab that kept expanding, map those dependencies before assuming the lab can restore itself.
Keep One Copy Outside the Failure Path
An always-connected backup can be affected by the same account compromise, mistaken deletion, electrical event, or malware as the original data. Keep at least one copy offline or otherwise isolated from routine access. Disconnecting a drive after a successful backup is a simple option. A separate location or independently controlled service can protect against failures that affect the whole property or account.
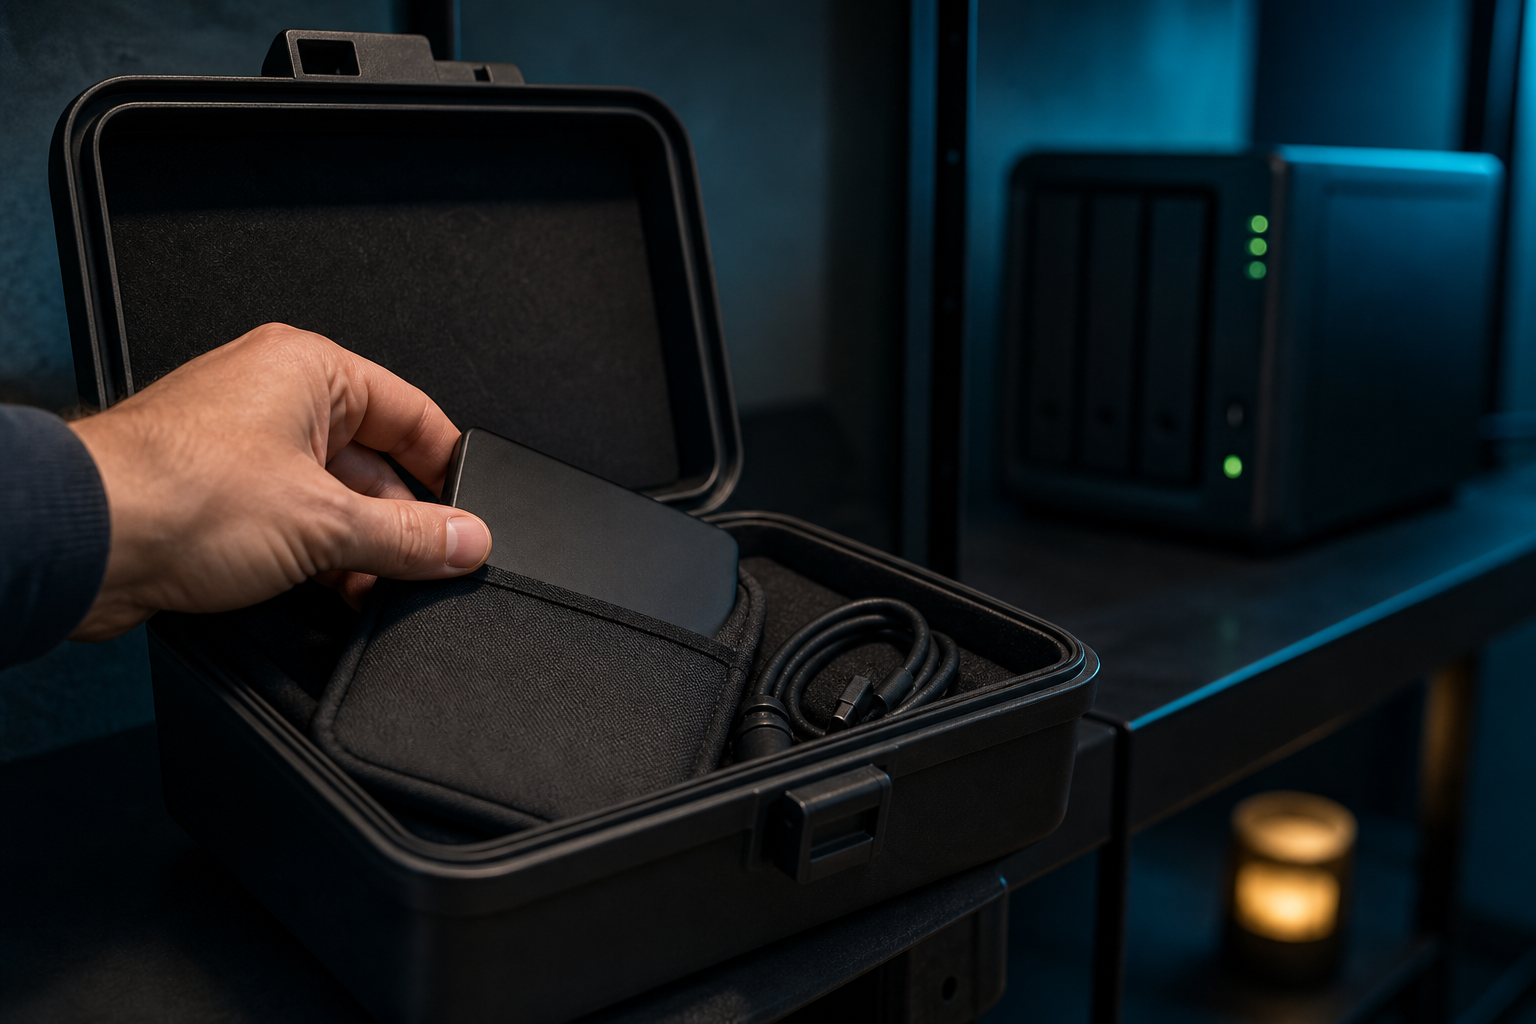
Isolation creates another responsibility: the copy must be updated and tested. Add the offline drive to the restore schedule, label its purpose without exposing sensitive details, and store the cable or adapter needed to read it. If the backup is encrypted, keep the recovery key somewhere separate from the drive.
Turn Every Failure Into a Fix
A failed drill is useful if it produces a specific correction. Common findings include excluded folders, expired credentials, missing encryption keys, insufficient destination space, unreadable old media, and recovery instructions that assume too much knowledge.
Fix the narrow cause, run the failed step again, and record the result. Do not mark the drill complete because most files restored. Important missing data is still missing.
Keep a short recovery runbook containing:
- What is backed up and where each copy lives
- Which account, device, and application perform the restore
- Where credentials and recovery keys are stored
- The safe destination for restored data
- The exact restore and validation steps
- The last successful test date and duration
Store the runbook where it remains available if your main computer is lost. Do not put passwords or recovery keys directly in it. Point to the secure storage location instead.
Repeat Before the Process Goes Stale
Run a small restore test regularly and after major changes to devices, backup software, accounts, encryption, or storage. Rotate the sample so different data sets and older restore points get tested over time. A quarterly drill is a reasonable starting rhythm for many homes, but valuable or rapidly changing data may justify more frequent checks.
The result you want is boring: the files restore, the instructions make sense, the credentials work, and the elapsed time is acceptable. That boredom is earned. It means a future failure can be handled as a known procedure instead of an emergency experiment.