Retirement Is a Security Task
An old computer can hold years of browser sessions, tax records, saved passwords, private messages, source code, photos, and account recovery details. Moving the visible documents folder does not remove everything. Applications keep local databases, browsers cache data, and storage devices retain files after ordinary deletion.
Safe retirement has four separate goals: preserve what you need, remove your access and identity, make stored data infeasible to recover, and confirm the computer is ready for its next destination. Skipping any one of them can turn a useful donation or sensible recycling decision into a data exposure.
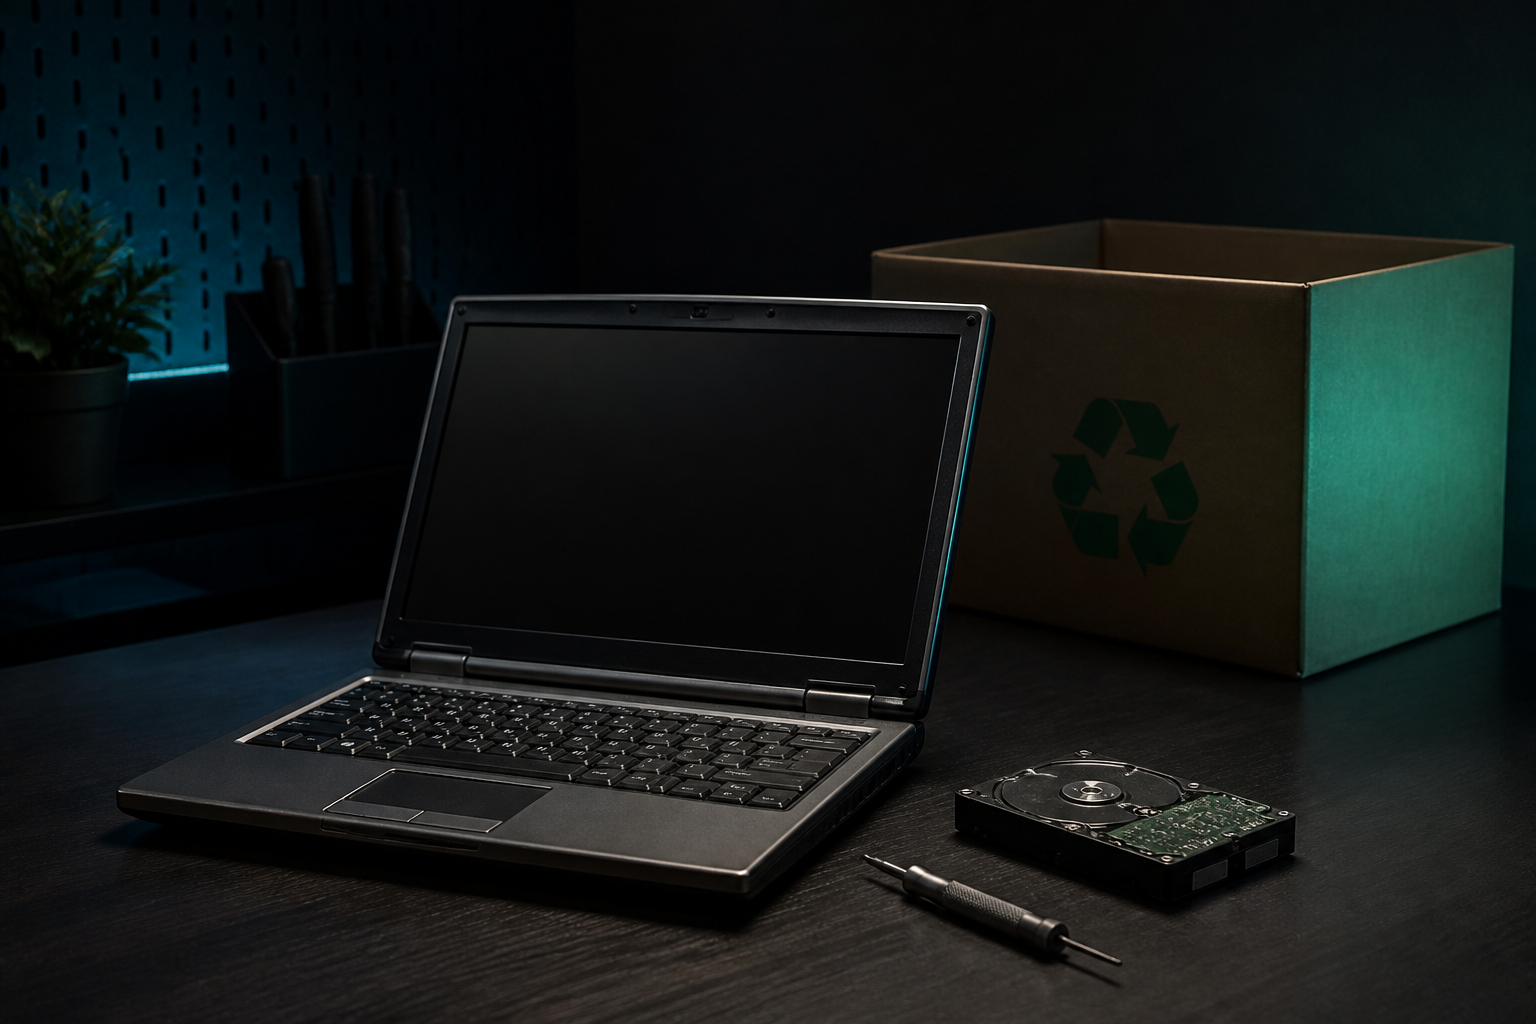
The process does not require improvised destruction or specialist equipment for every device. It requires knowing what the computer contains, choosing an erasure method appropriate to the storage and risk, and keeping the device until you have verified the result.
Choose the Destination Before the Method
Decide whether the computer will be reused at home, sold, donated, returned to an employer, recycled, or kept for parts. That decision changes what must happen next.
A device staying in your household may only need a clean operating system reset and a new user account. A computer leaving your control needs account removal, a suitable storage sanitization process, and a check that no removable media remains inside. An employer-owned device should follow the organization's return process instead of a personal wipe, because erasing it could remove records the organization must retain.
Also consider the sensitivity of the data. A family computer with routine documents is different from a workstation that held client records, regulated data, private keys, or business credentials. Higher-risk data may require an approved sanitization service, documented verification, or physical destruction of the storage media rather than a normal consumer reset.
Write the destination and required outcome at the top of a short checklist. This prevents a common mistake: cleaning the computer for reuse, then later deciding to sell it without revisiting the security assumptions.
Prove the Backup Before Erasing
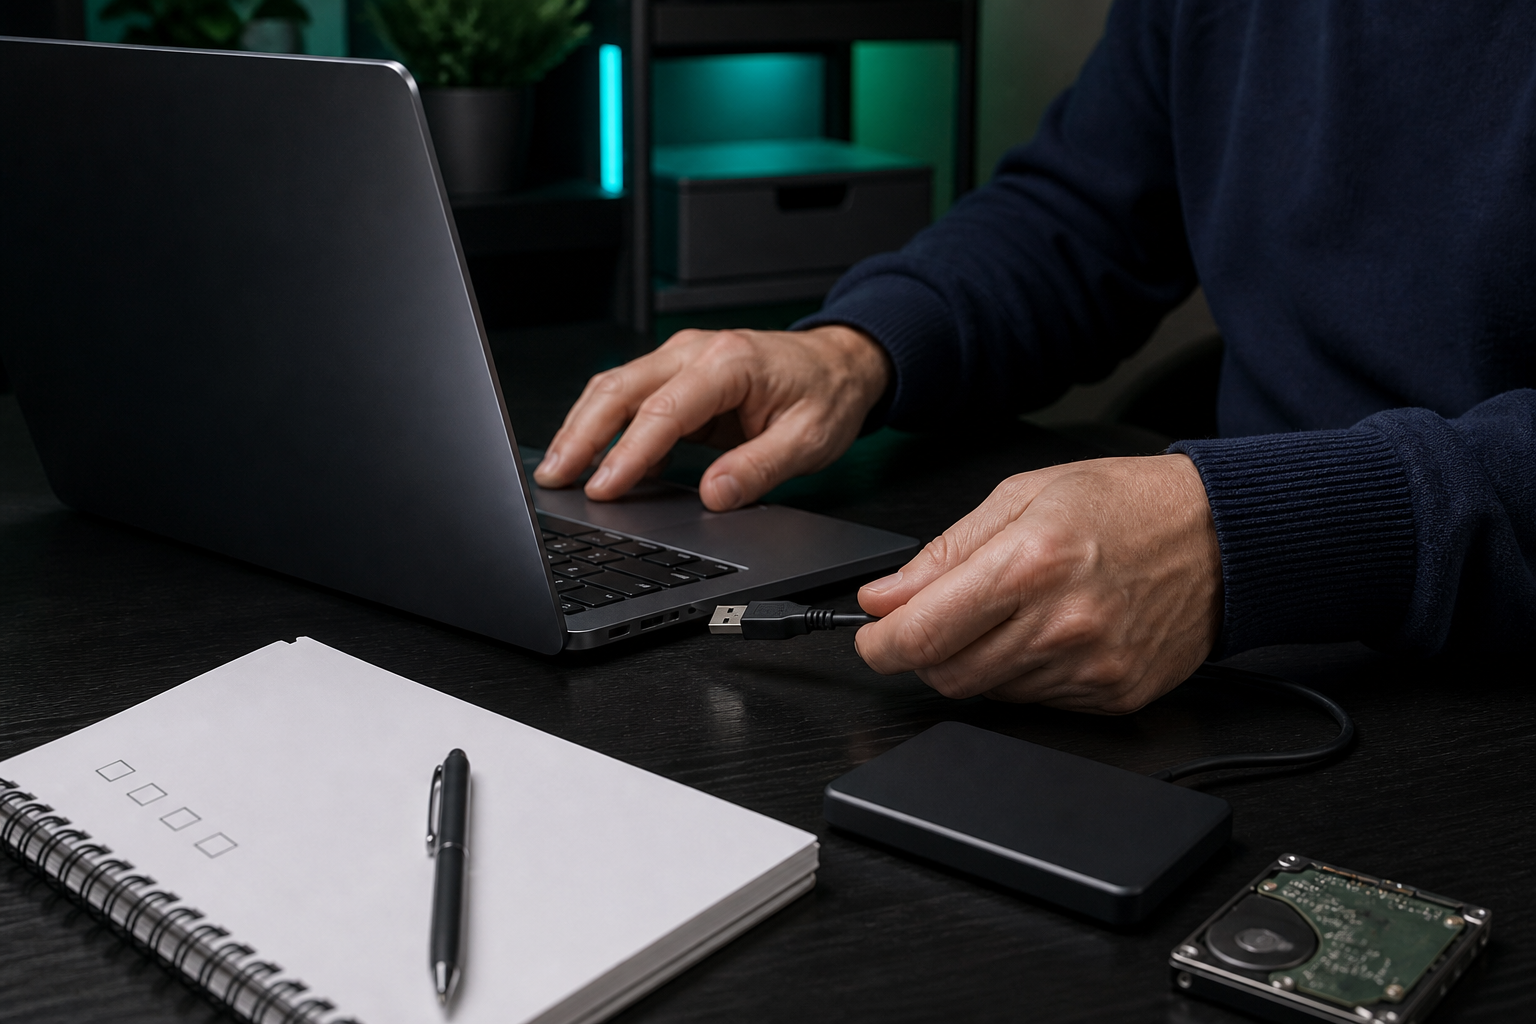
Inventory the data you intend to keep. Check the desktop, documents, downloads, photos, videos, email archives, browser exports, application libraries, virtual machines, source repositories, license information, and any folders stored outside the normal user profile. Look for secondary internal drives and memory cards as well as the main system disk.
Copying files is not enough. Open a representative sample from the destination, including an older file, a large file, and at least one application-specific library. A structured backup restore drill provides a stronger test when the computer holds irreplaceable data.
Confirm that the new computer or backup can access any encrypted files. Record where recovery keys are stored, but do not place the keys beside the encrypted backup. Keep the old computer unchanged until the copied data has passed these checks.
Remove Accounts, Trust, and Accessories
Before erasing, identify the relationships that will survive outside the disk. Sign out of services that limit authorized devices. Remove the computer from account device lists, turn off remote location or activation features when the platform requires it, and transfer licenses that are tied to the hardware.
Review authentication material carefully. The computer may hold passkeys, SSH keys, browser sessions, email tokens, VPN profiles, or a password vault. Confirm that required credentials work elsewhere before removing them. If this retirement is part of moving to a new vault, complete the checks from the password manager migration process before wiping the only device with a working session.
Disconnect external drives after the backup. Remove SD cards, USB receivers, security keys, discs, and SIM cards. Check drive bays and docking stations. Small removable devices are easy to donate accidentally because they look like part of the computer.
Use the Storage-Aware Erase Path
Ordinary deletion removes directory references, not necessarily the underlying data. A quick format or operating system reinstall may also leave recoverable content. Use the current erase or reset instructions from the computer or operating system manufacturer, and select the option intended for selling, donating, or recycling rather than the option that keeps personal files.
Modern storage complicates old advice. Repeatedly overwriting an SSD with a generic file utility does not reliably address spare cells, remapped blocks, or wear-leveling behavior. It also creates unnecessary writes. Prefer the device's supported secure erase, sanitize, or cryptographic erase path when available. Full-disk encryption established before the erase can help because destroying the protected encryption keys makes the remaining encrypted data inaccessible, but only when the platform implements that process correctly.
Security guidance commonly groups sanitization outcomes into three levels:
- Clear protects against basic recovery through the normal interface.
- Purge makes recovery infeasible even with more advanced techniques while preserving the media for reuse.
- Destroy makes the media unusable when reuse is not appropriate.
Most working personal computers leaving the household can use the manufacturer's supported reset or erase workflow when the data risk is ordinary. Business, regulated, or unusually sensitive data needs the method required by its policy. Do not guess based only on how long an erase takes.
Treat Broken Storage as a Different Case
A computer that will not boot may still have readable storage. If the drive is removable, place it in a compatible enclosure only when you can do so safely and know how to sanitize it. If it contains sensitive data and cannot be reliably erased, retain it or use a qualified destruction service.
Do not drill, burn, bend, or smash a drive at home. These methods create sharp fragments, battery and fire hazards, and false confidence. Damaging one visible part does not prove every storage component is unreadable. A reputable electronics recycler should explain how data-bearing media is handled and whether destruction records are available when you need them.
Soldered storage, encrypted devices with failed mainboards, and computers managed by an employer may need model-specific or organizational handling. Keep the entire device under your control until the correct path is confirmed.
Verify the Result Before Handoff
An erase process finishing without an error is evidence, not the whole verification. Restart the computer and confirm it opens at the initial setup screen rather than a user desktop or recovery session tied to you. Do not create a fresh personal account merely to inspect it.
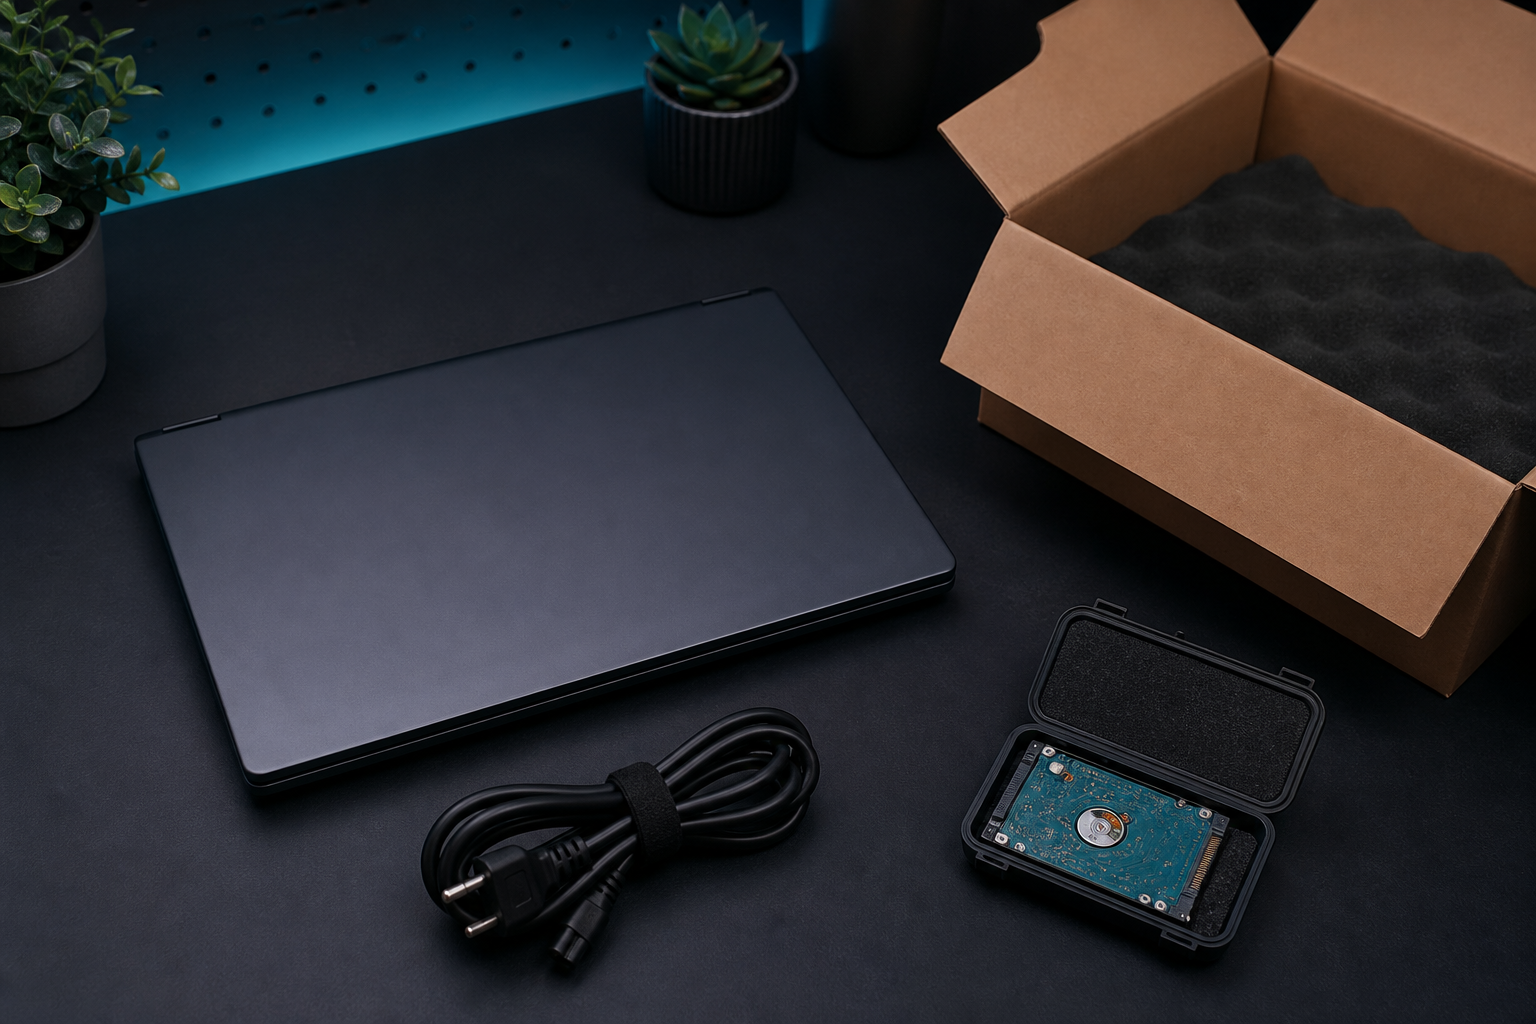
Check that the device no longer appears as trusted, managed, or location-enabled in your accounts. Confirm that activation protection has been removed when ownership is transferring. Inspect ports, drive bays, and card slots once more. Keep the charger only if it belongs with the computer and does not contain another storage device or adapter.
For higher-risk media, record the device identifier, storage type, sanitization method, tool result, date, and person responsible. Verification should match the risk: a routine family laptop needs a careful functional check, while sensitive business media may need formal validation by an approved process.
Close the Record After the Device Leaves
Update your home network asset inventory with the retirement date and destination. Remove DHCP reservations, device-specific firewall rules, monitoring entries, backup jobs, and remote access keys that no longer serve a purpose. Revoke credentials rather than leaving dormant access in place.
Keep a receipt or handoff record for valuable equipment, but do not record passwords, recovery keys, or unnecessary serial numbers in a public location. If a recycler handled the storage, retain any sanitization or destruction record with your private documentation.
The device is retired only when the data is preserved, the accounts are detached, the storage outcome is verified, and the old access paths are closed. That final discipline is what turns clearing out a cupboard into a controlled security process.